Thursday, February 7, 2013

Ironing board 911

So...my ironing board fell apart. It's a crappy little one that we got when we were first married because we didn't have room for a regular sized one. I like this ironing board, it's easy to move to where I'm sewing, it has a home in the laundry room but who am I kidding I never use it to iron clothes...ever. I want to keep it so my only choice was to re-cover it. 

You can see the string they used as a cinching device, terrible!


Create a pattern from the foam


Cut out pattern.  Take some elastic and measure around the outside of the ironing board, pull as tight as you can!


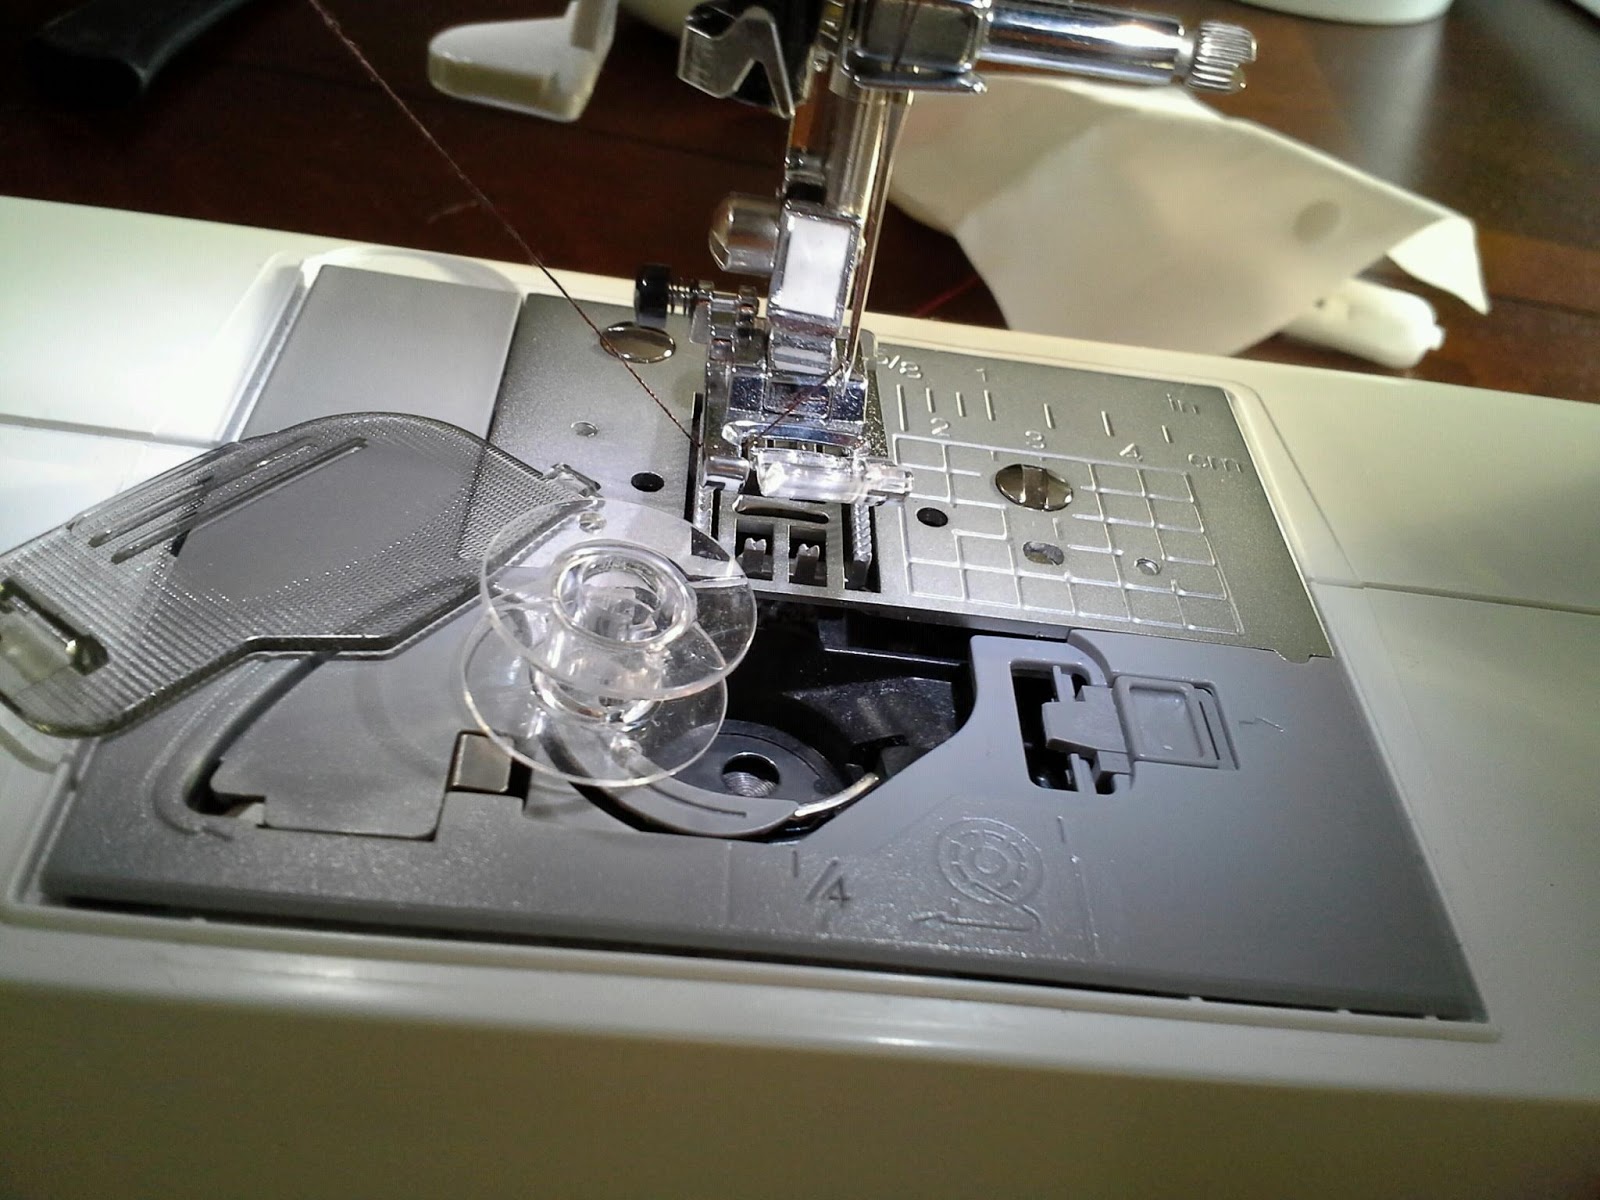
Place your elastic at 1/4", stitch in place with 1-2 stiches only, now using the largest zig zag setting I stitch over the top of the elastic...DO NOT SEW ON THE ELASTIC!


As you sew pull the elastic tight (the back should start cinching) It should look all fancy and pretty like mine :) No one will see the bottom I promise!


I hate HATE when the bobbin runs out, such a pain to stop what you are doing!


Resume sewing, stitch the very end of the elastic in the same fashion as the begining 1-2 stitches.  Finished product ready for stretching!


BOOM.

Ottomon project #1

I bought a pattern a while ago from Amy Butler I love her work, they're called gumdrop pillows.  I found some pirate fabric on clearance at Walmart about 2 years ago, last summer I started cutting out the pieces then we decided to move so they got put away until now... so sorry no before pictures, but I plan on making more that match the playroom so pics to come!

Tuesday, February 5, 2013

Blank canvas # 2

So, I got the inspiration from this lady, on her Private Blog, but its been pinned a million times so i'm sure you can find it.  Like my life and the rest of my house, it is a work in progress, but I like the way its headed :)


Monday, January 28, 2013

Cornis, or window box curtain rod cover thing.

1st I measured the width of the curtain rod, then I cut out the side of my long Ikea box to the right height and width.
Then I covered it in batting, 2 layers.
I tried several ways of attaching the batting, hot glue seem to work the best.
Then I repeated the steps with the fabric I liked, I had to sew the fabric together to make a strip long enough to cover the box.
Voila, super cheap, super cute!

Pinterest Project - Drawer Organizer

This project was spread out over far to many weeks..but its finally done!

Step 1: make a plan, then throw it out the window!

Step 2: Clean out the pantry


Step 3: Use all the tape in the house


Step 4: Contact paper anyone?

Step 5: Marvel

Step 6: Place in drawer, only to realize you measured wrong and now have to cut off the end and re tape.

TADA